Vivarium Gallery
Living ecosystems meticulously crafted to recreate the natural habitats of Madagascar and beyond
Vivariums as Microcosms
A vivarium is a carefully balanced ecosystem that honors the complexity of nature. Each build is a commitment to replicating the intricate relationships between flora, fauna, substrate, and climate that exist in the wild.
Natural Balance
Creating self-sustaining ecosystems that mirror nature's perfect equilibrium
Hydrological Cycle
Implementing proper moisture management and natural water cycles
Light Spectrum
Providing appropriate UVB and heat gradients for species-specific needs
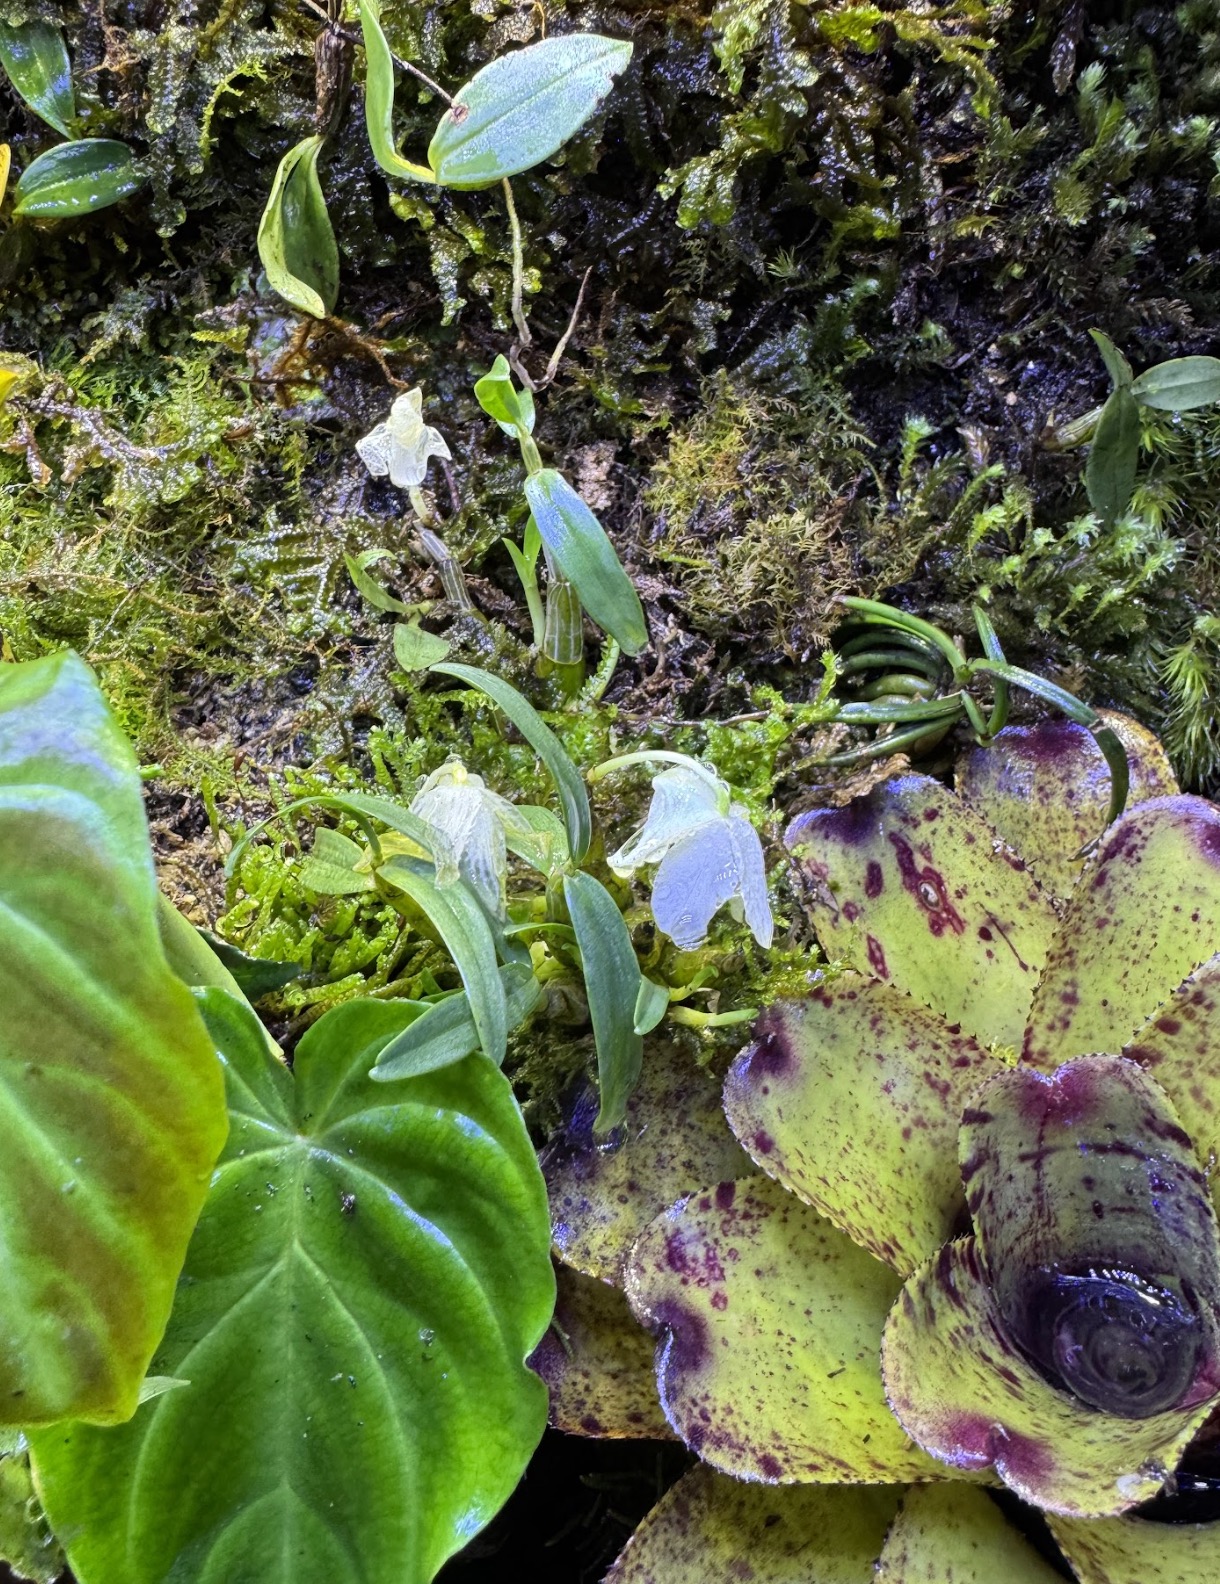
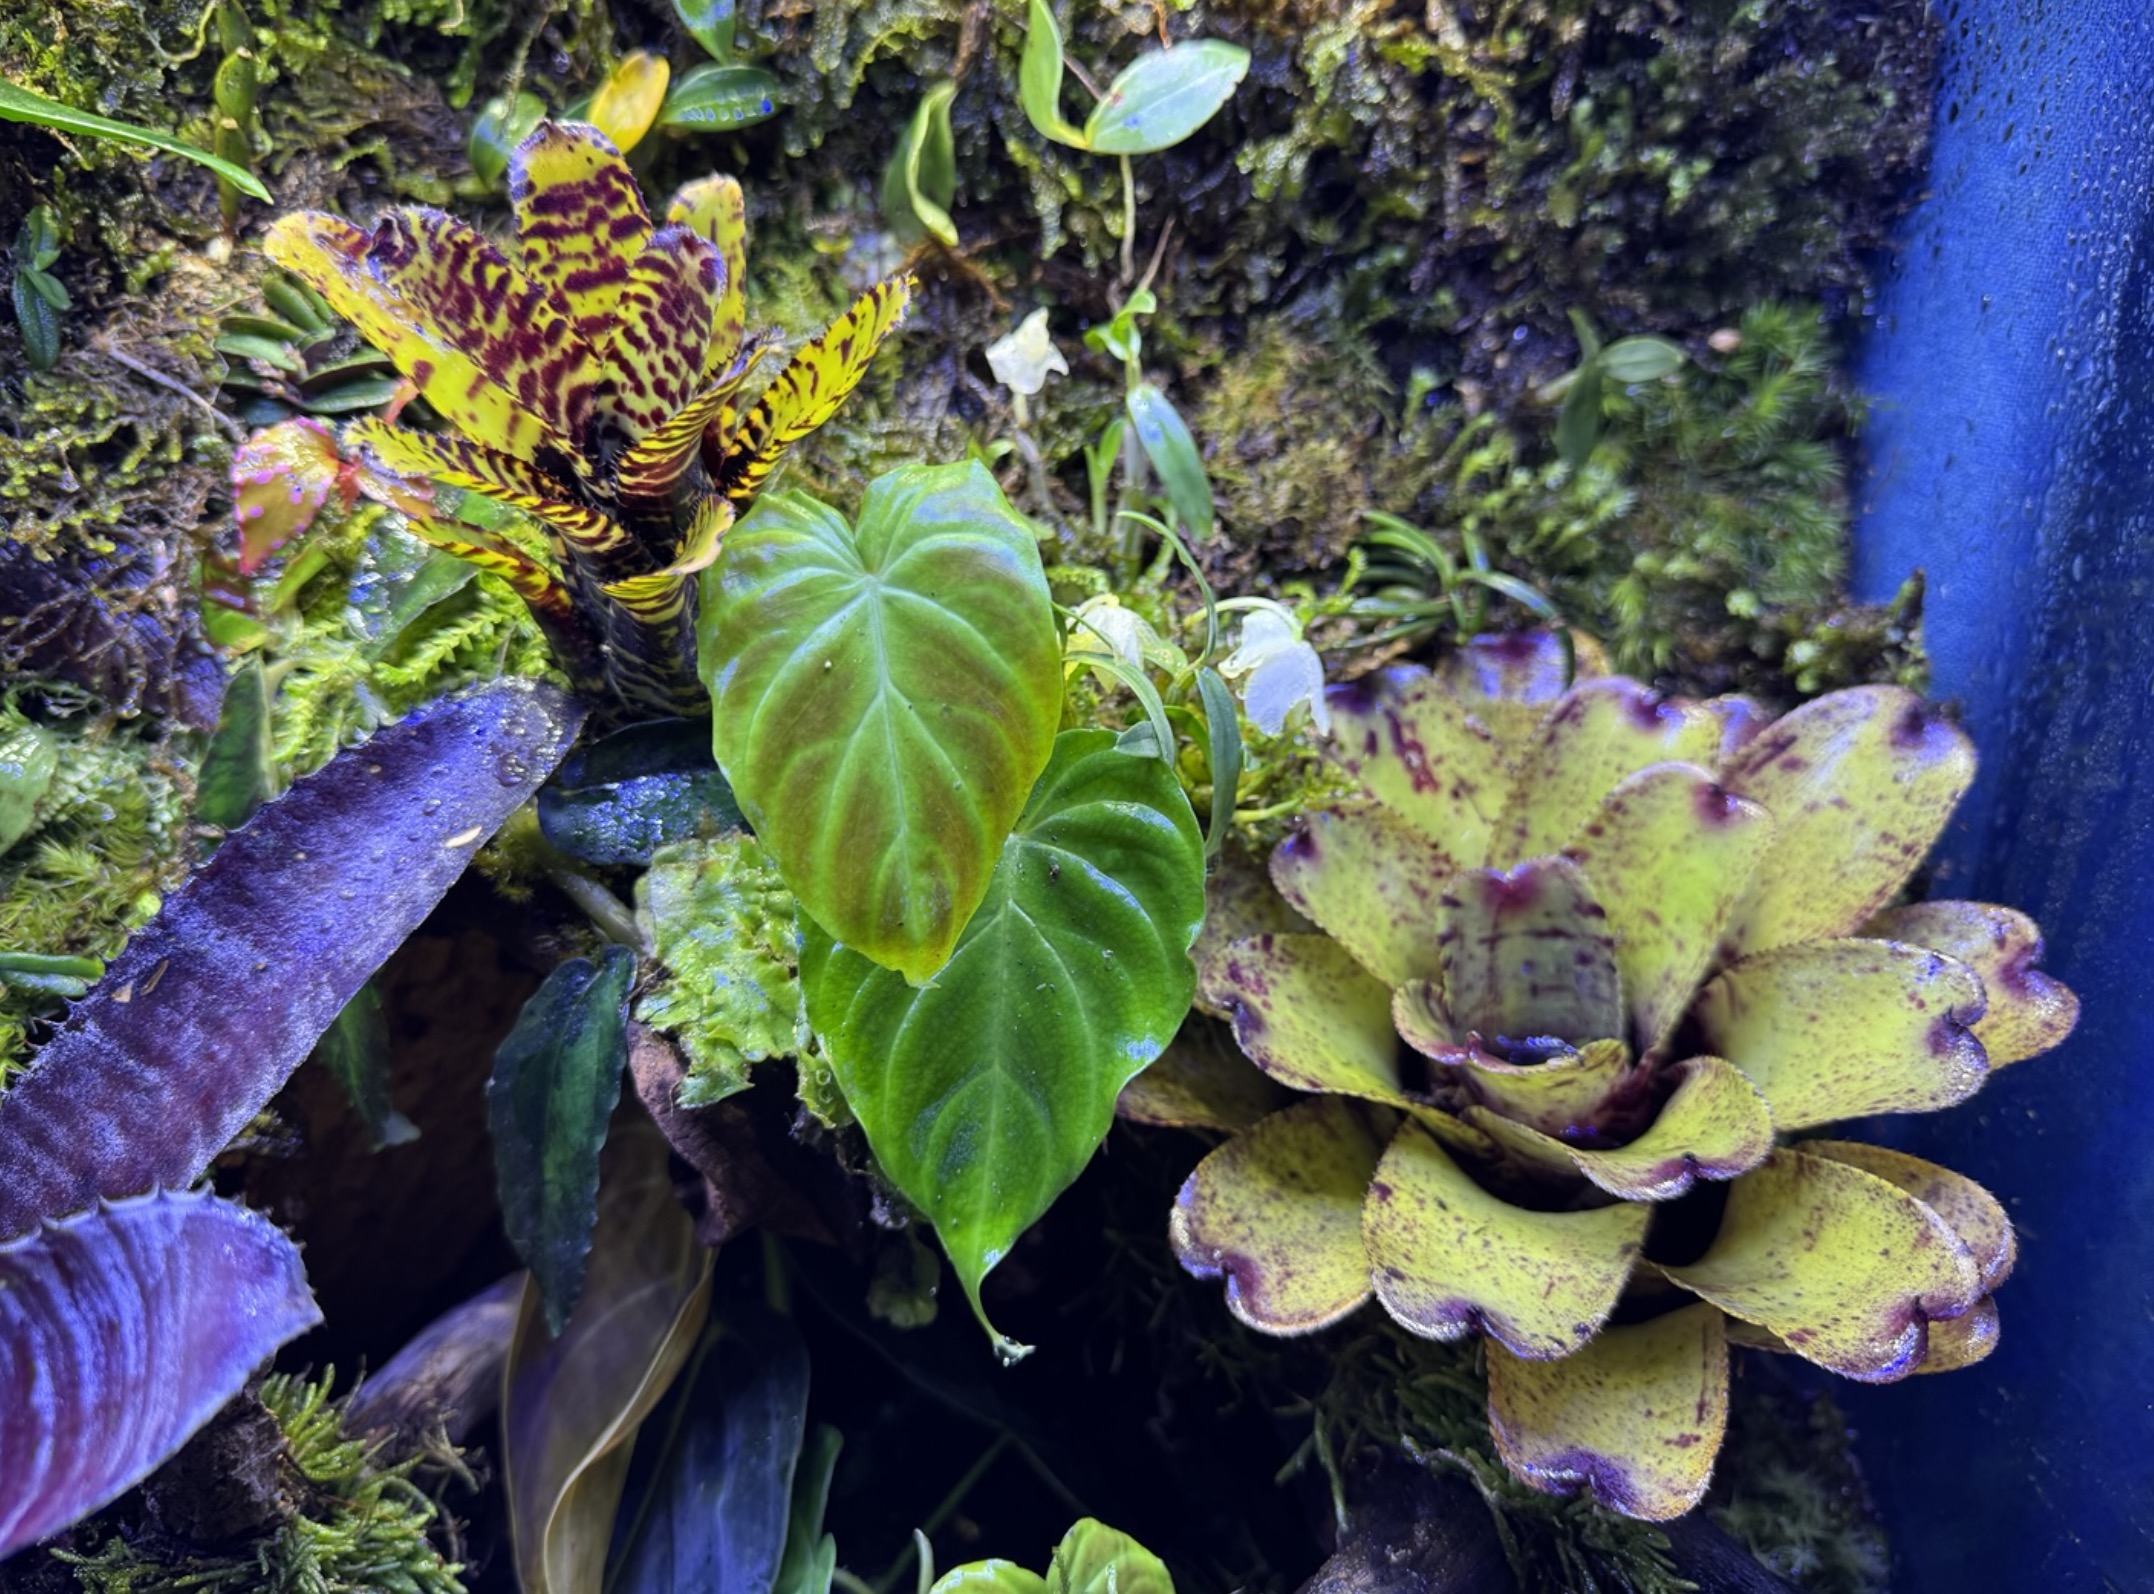
Native Flora
Incorporating authentic plants from species' natural habitats
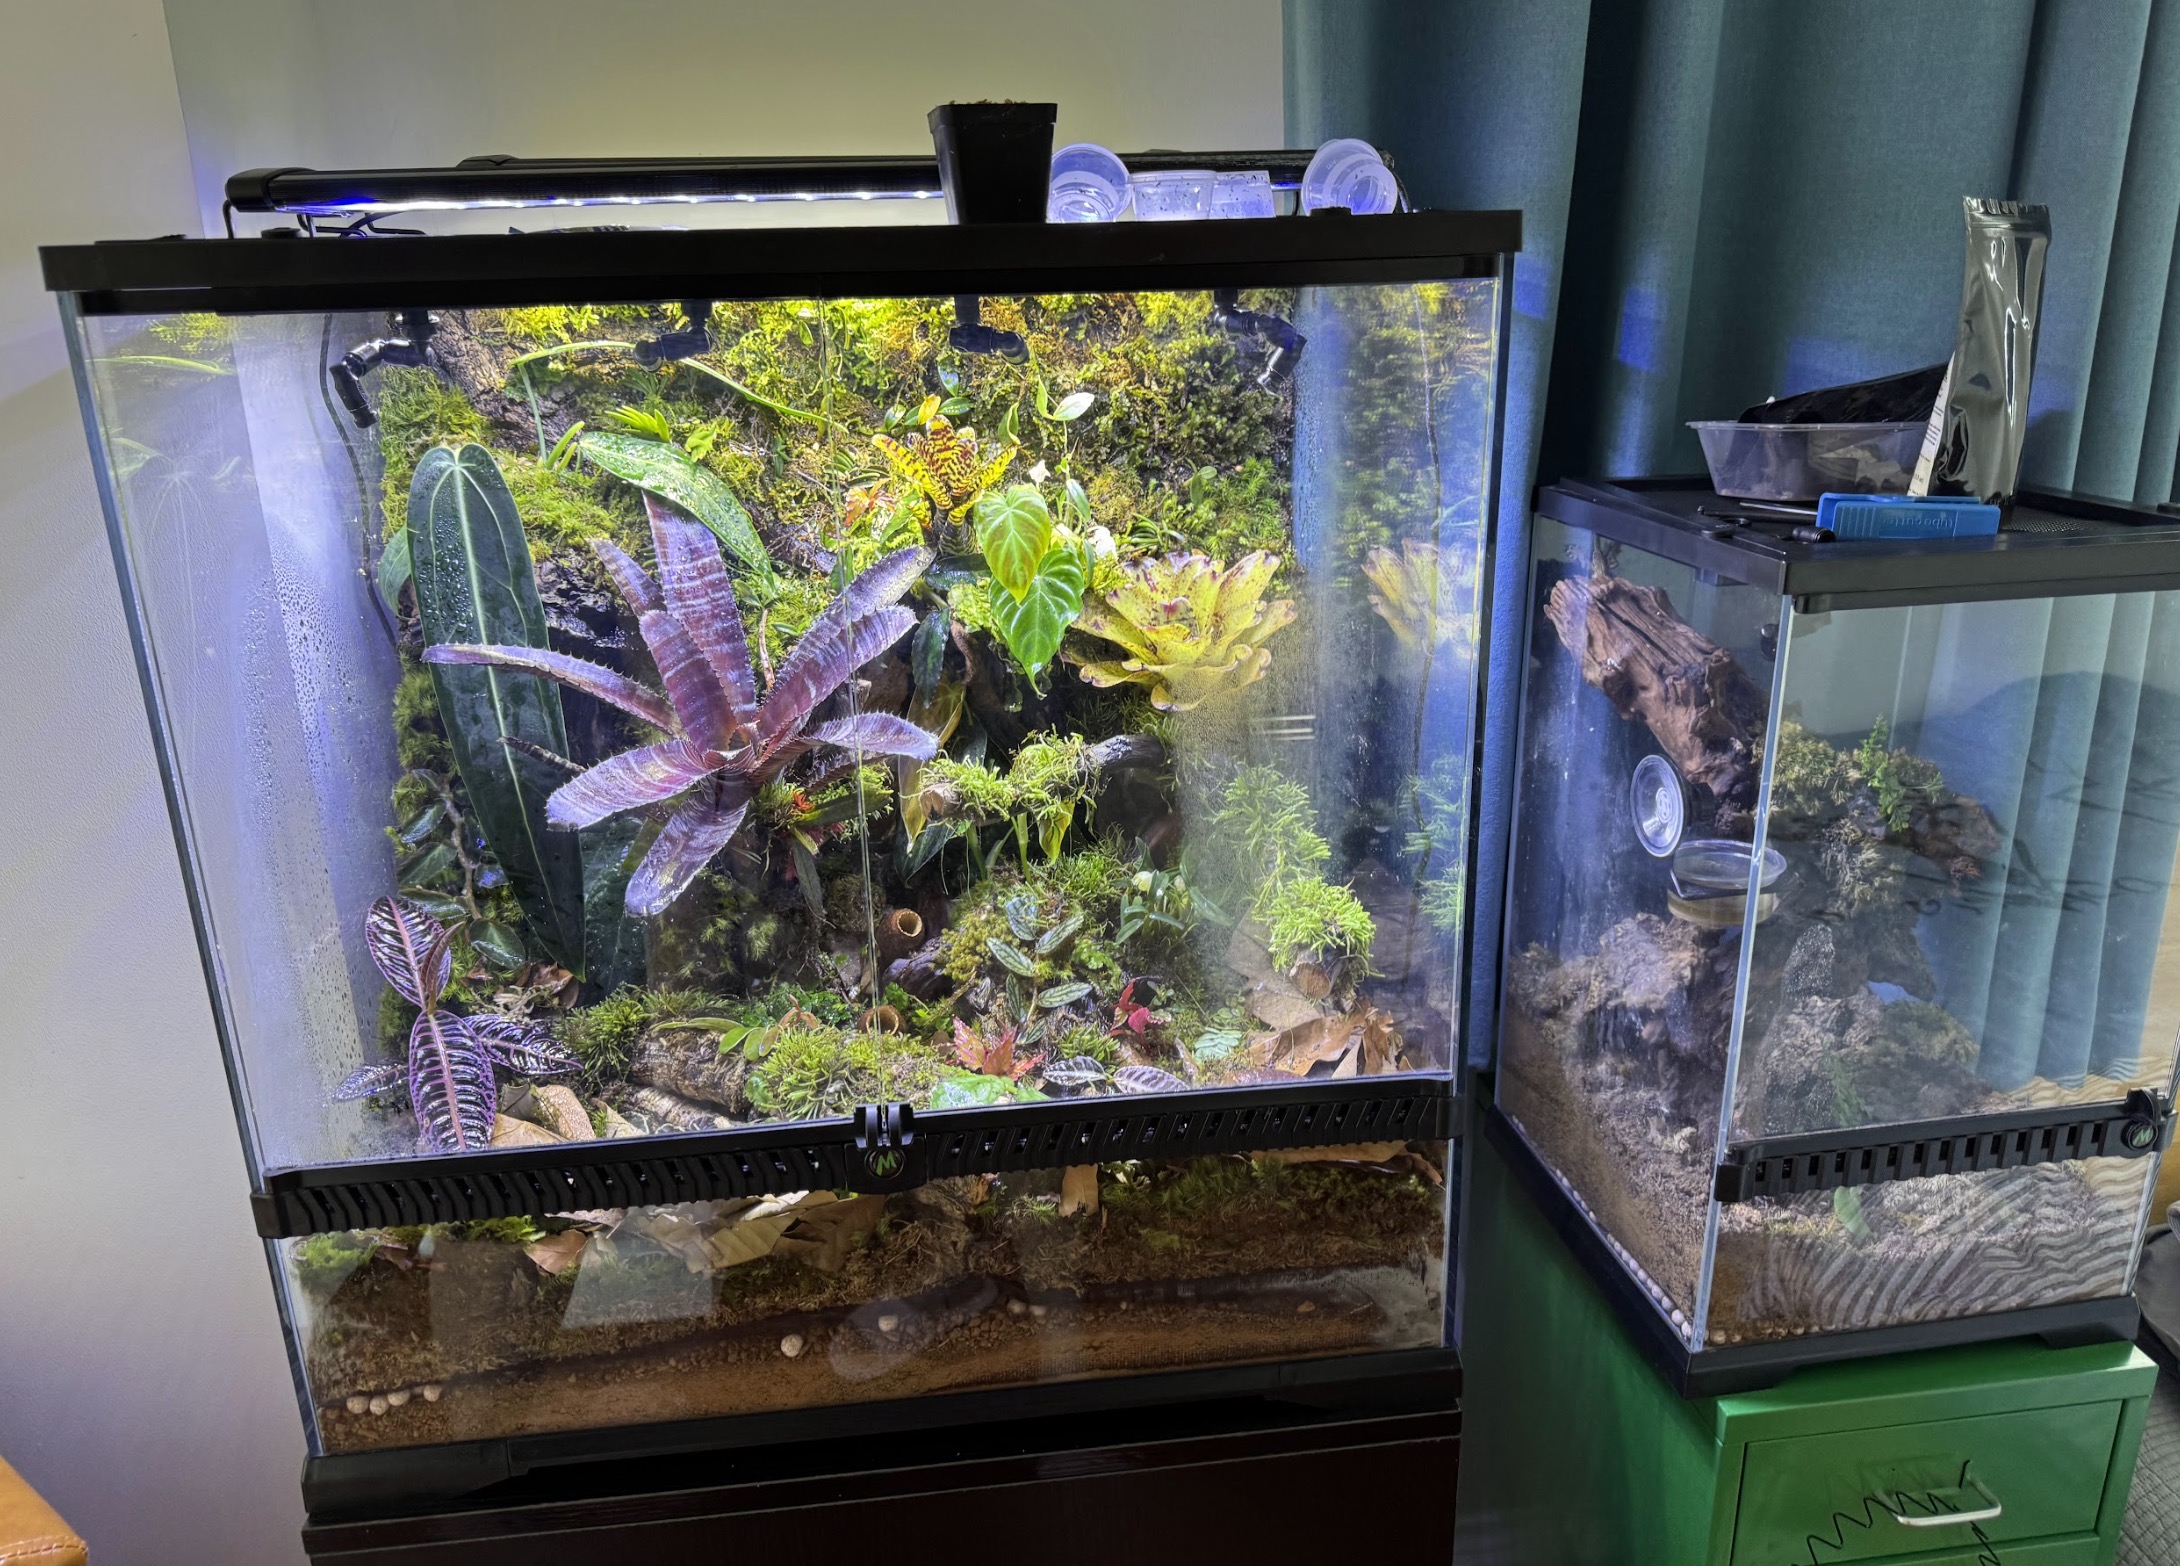
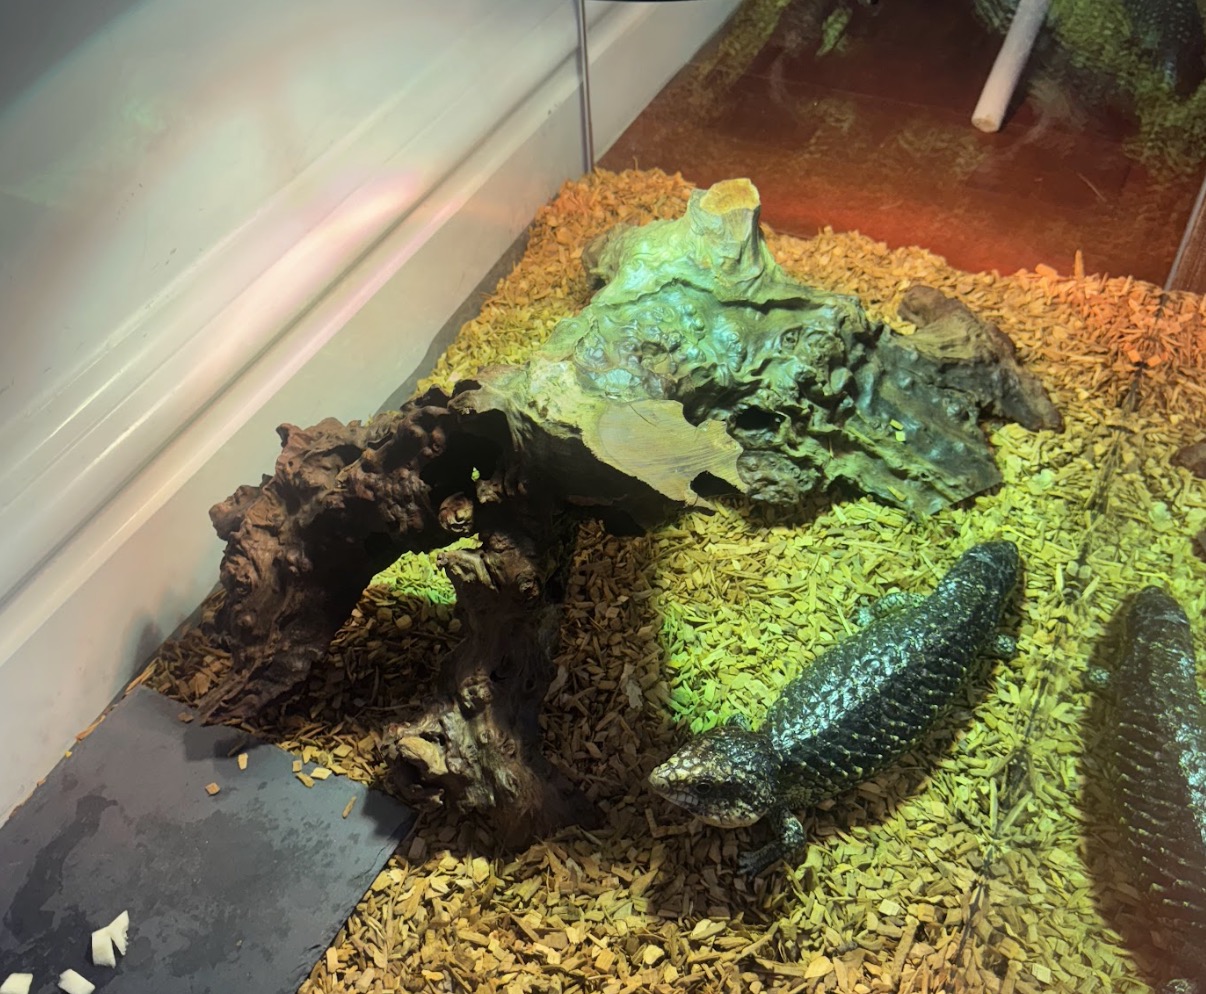
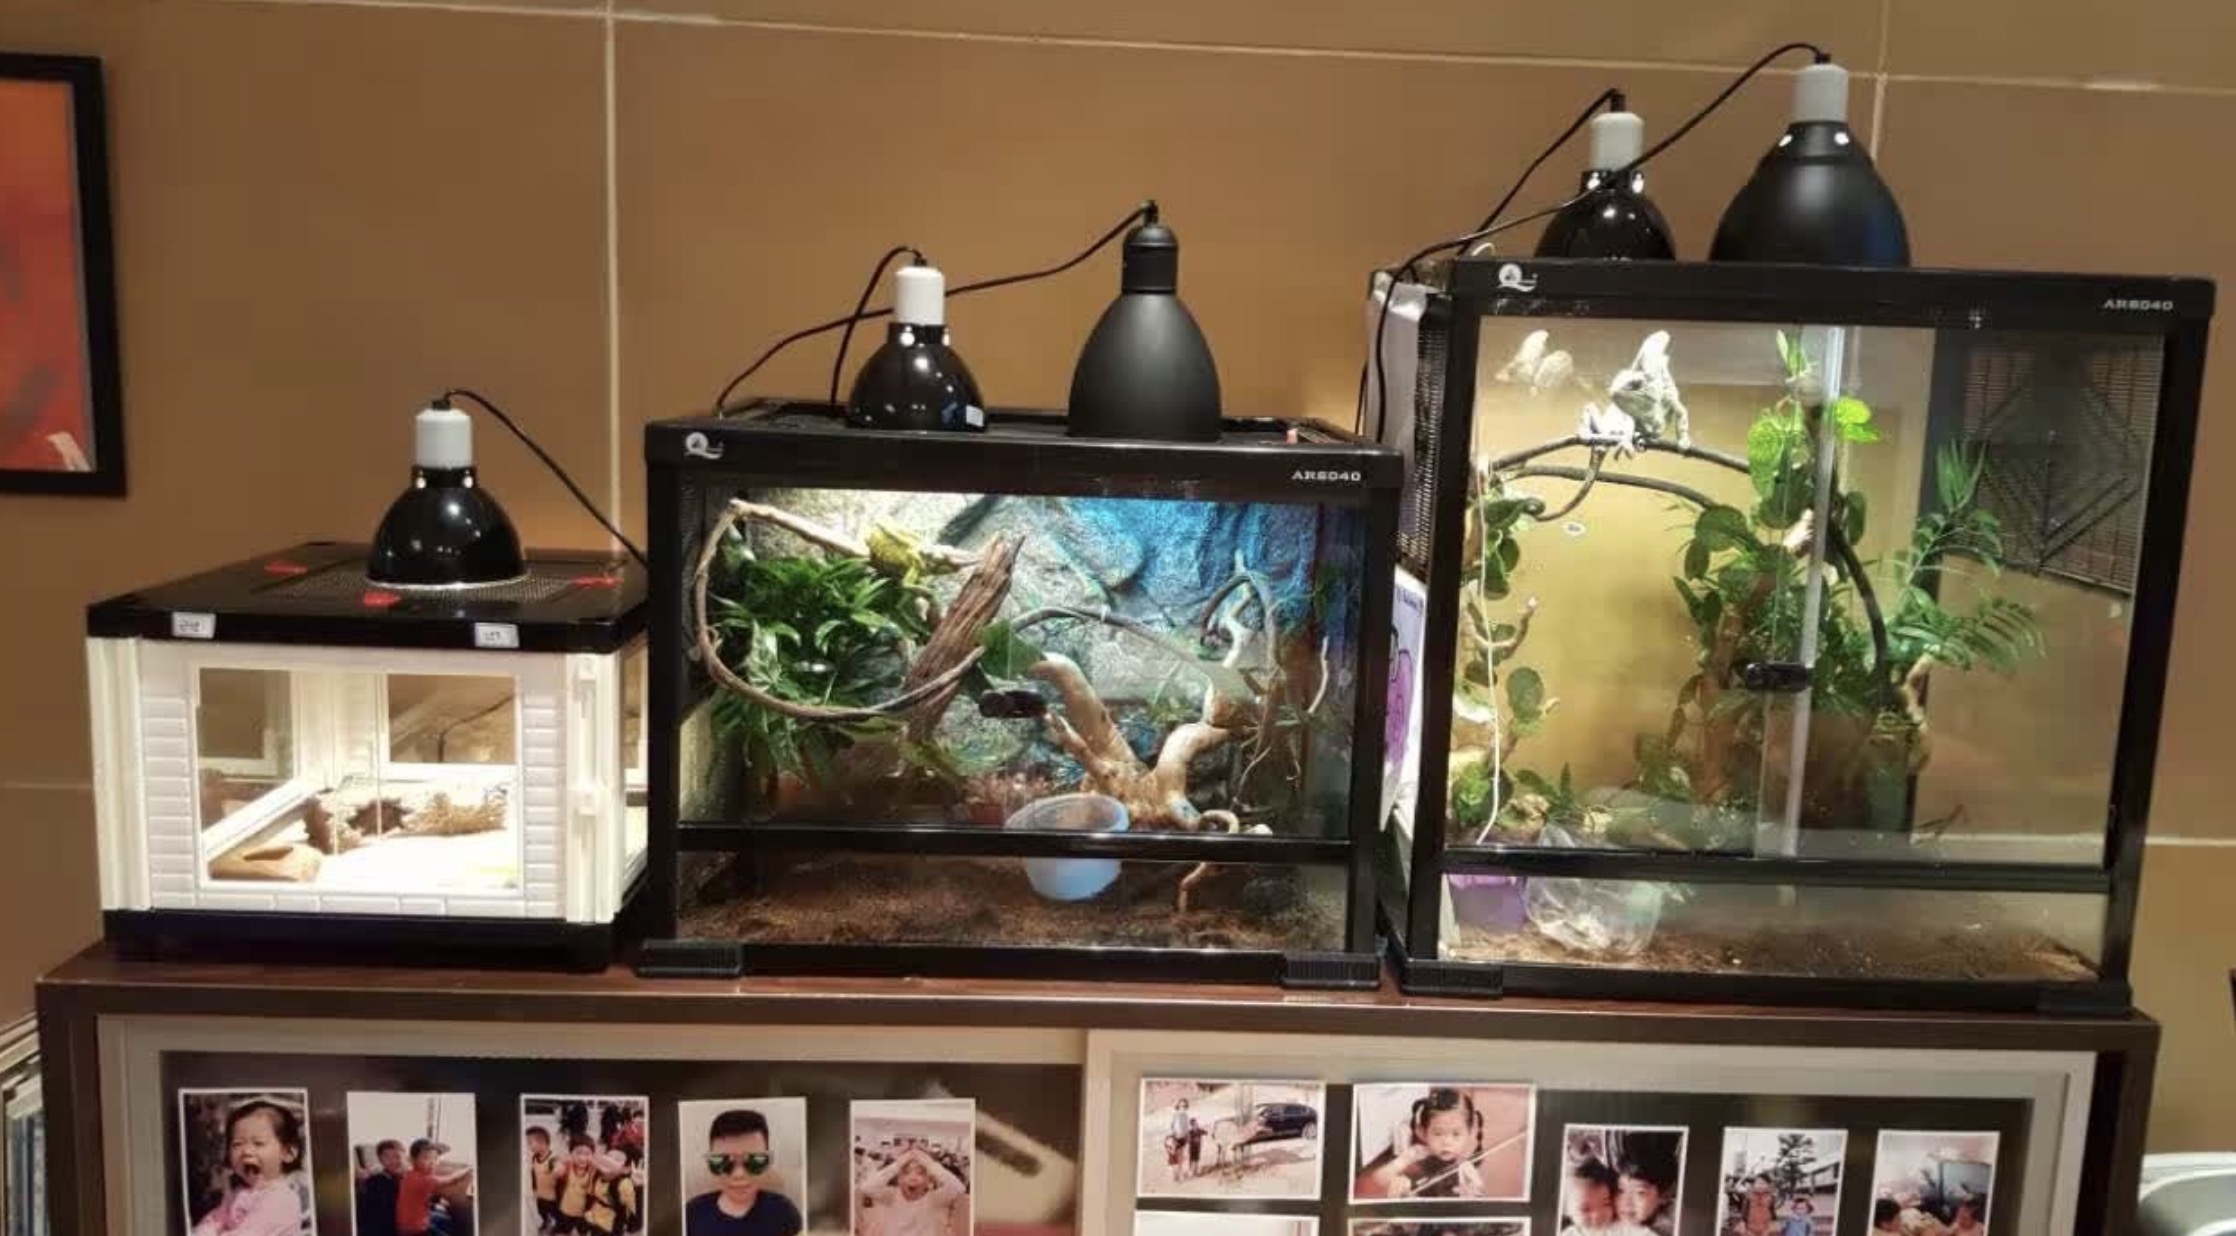
My Vivarium Builds
A collection of bioactive vivariums I've personally designed and constructed, each tailored to specific species' needs and natural habitats

Complete Vivarium Building Guide
A comprehensive step-by-step process for creating bioactive, naturalistic habitats that support both plant and animal life
Planning & Research
Foundation for a successful bioactive vivarium
- •Research the natural habitat of your intended species (temperature, humidity, terrain)
- •Determine vivarium type: tropical, desert, temperate, or arboreal
- •Select appropriate enclosure size based on species adult size and activity level
- •Sketch layout including basking spots, hiding areas, climbing structures, and water features
- •List all materials needed: substrate, drainage materials, plants, hardscape, equipment
💡Pro Tip
Spend time observing species behavior and habitat photos from the wild. This informs every design decision.
Drainage Layer Installation
Critical foundation to prevent waterlogging and root rot
- •Add 2-3 inches of LECA (Lightweight Expanded Clay Aggregate) balls to the bottom
- •Alternative materials: egg crate light diffuser, pond filter foam, or hydro balls
- •Ensure even distribution across entire enclosure bottom
- •This layer creates a 'false bottom' that collects excess water
- •Leave space for water to accumulate without touching substrate above
💡Pro Tip
The drainage layer is essential for bioactive vivariums. It prevents substrate from becoming waterlogged and maintains proper moisture gradients.
Substrate Barrier & Mesh
Separation layer between drainage and substrate
- •Cut fine mesh or landscape fabric to fit enclosure dimensions
- •Lay mesh flat across entire drainage layer
- •Ensure no gaps where substrate could fall through
- •Mesh should be fine enough to block substrate but allow water to pass
- •Secure edges if needed to prevent shifting during setup
💡Pro Tip
Use weed barrier fabric, window screen, or specialized terrarium mesh. This prevents substrate mixing with drainage while allowing water flow.
Substrate Layer
The living foundation of your ecosystem
- •For tropical setups: ABG mix (Atlanta Botanical Gardens) with tree fern fiber, peat moss, charcoal, and orchid bark
- •For desert setups: Sand, excavator clay, and minimal organic matter
- •Add 3-5 inches depth for adequate root growth and burrowing
- •Create elevation changes: hills, valleys, and slopes for visual interest
- •Compact substrate lightly to create stable terrain
💡Pro Tip
ABG mix is nutrient-rich and retains moisture well. For desert vivariums, use a well-draining sandy mix with less organic content.
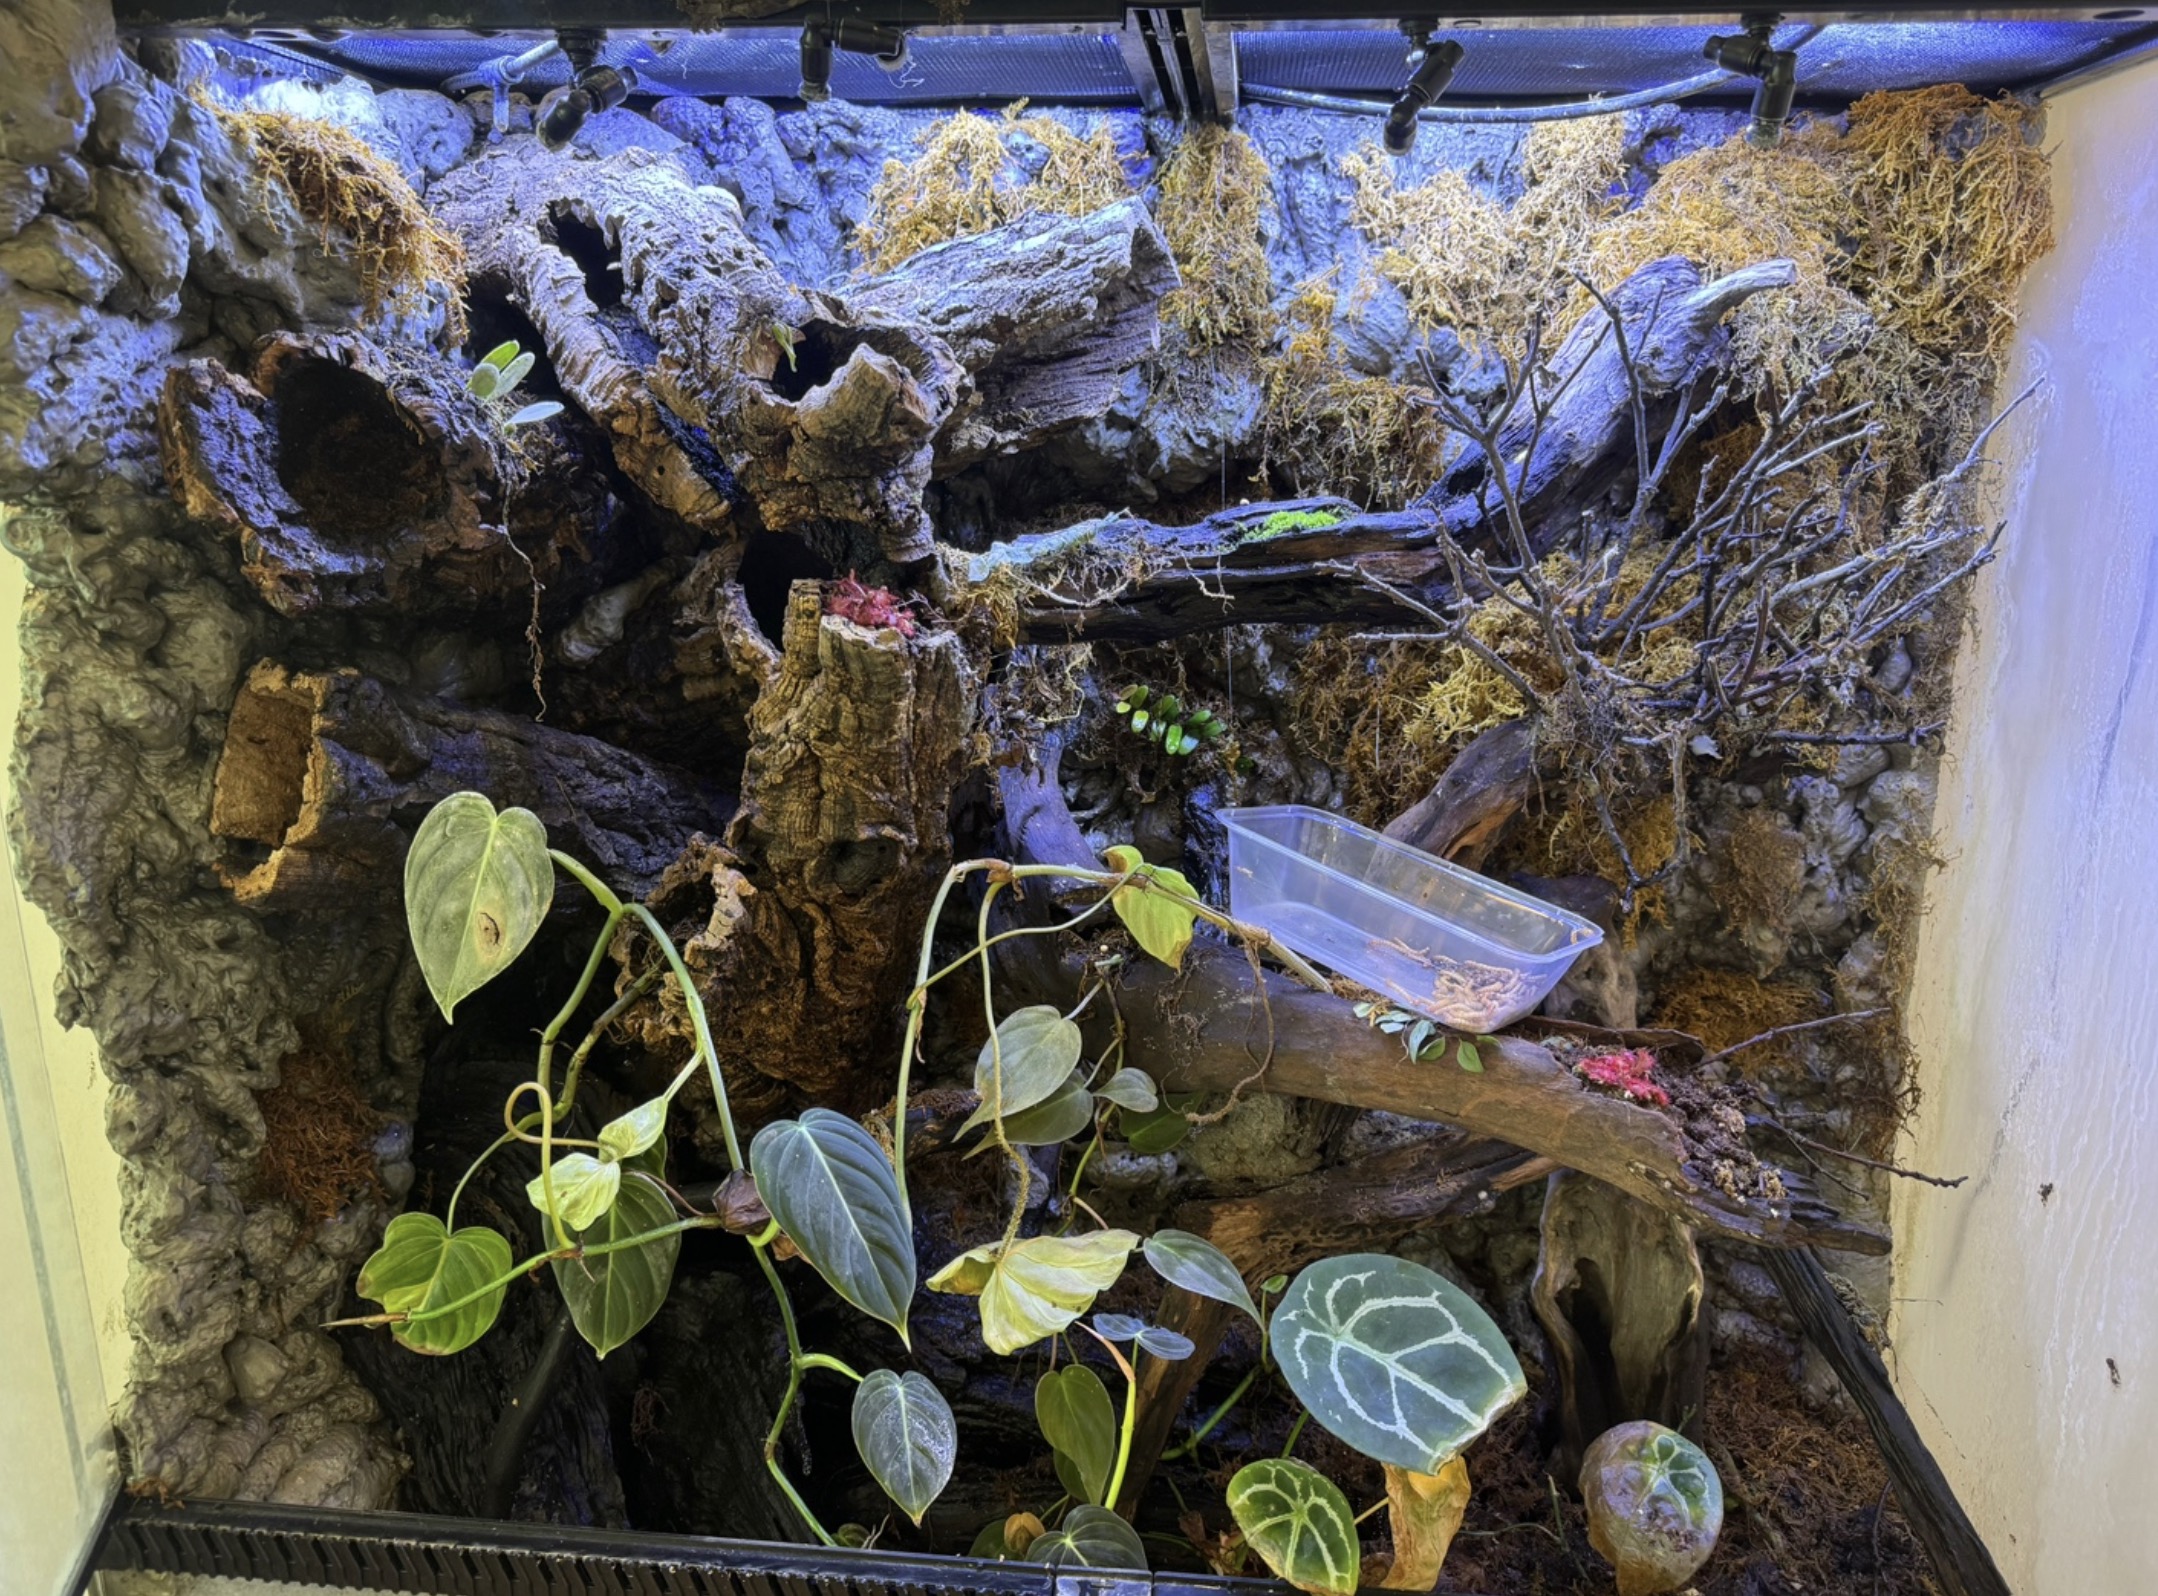
Hardscape Design
Creating structure and dimension
- •Position cork bark, branches, and driftwood for climbing and hiding
- •Add rocks to create caves, ledges, and basking platforms
- •Ensure all structures are stable and won't shift or collapse
- •Create vertical space for arboreal species
- •Leave pathways for ground-dwelling species to navigate
- •Use aquarium-safe silicone to secure heavy pieces if needed
💡Pro Tip
Arrange hardscape before adding plants. Position pieces at angles to maximize usable space and create natural-looking formations.
Live Plant Selection & Installation
Bringing the ecosystem to life
- •Choose plants native to species' habitat or with similar requirements
- •For tropical: Pothos, bromeliads, ferns, moss, orchids, fittonia
- •For desert: Succulents, air plants, snake plants, aloe
- •Plant larger background plants first, smaller foreground plants last
- •Create plant pockets by digging into substrate and firming soil around roots
- •Add leaf litter (oak, magnolia) on substrate surface for natural appearance
💡Pro Tip
Research plant light and water needs. Start with hardy species like pothos and snake plants that tolerate various conditions.
Cleanup Crew Introduction
The maintenance workers of your ecosystem
- •Add springtails (Collembola) to consume mold, fungus, and decaying matter
- •Introduce isopods (Armadillidium, Porcellio species) to process waste and dead leaves
- •For tropical setups: Tropical springtails and Dwarf White or Purple isopods
- •For temperate setups: Temperate springtails and common pill bugs
- •Add cultures to substrate and leaf litter areas
- •Allow 1-2 weeks for populations to establish before adding reptiles
💡Pro Tip
Cleanup crews are essential for bioactive vivariums. They break down waste, maintain soil health, and prevent harmful bacteria growth.
Lighting Setup
Providing energy for plants and animals
- •Install full-spectrum LED or T5 bulbs for plant growth
- •Add UVB lighting (5.0 or 10.0) for diurnal reptiles that need vitamin D3 synthesis
- •Position basking bulb to create temperature gradient (hot to cool)
- •Set up timer for 12-hour day/night cycle
- •Measure light intensity with lux meter to ensure adequate plant lighting
- •Place lights 6-12 inches above screen top depending on bulb strength
💡Pro Tip
Different plants need different light levels. High-light plants need 2000+ lux, low-light plants do fine with 500-1000 lux.
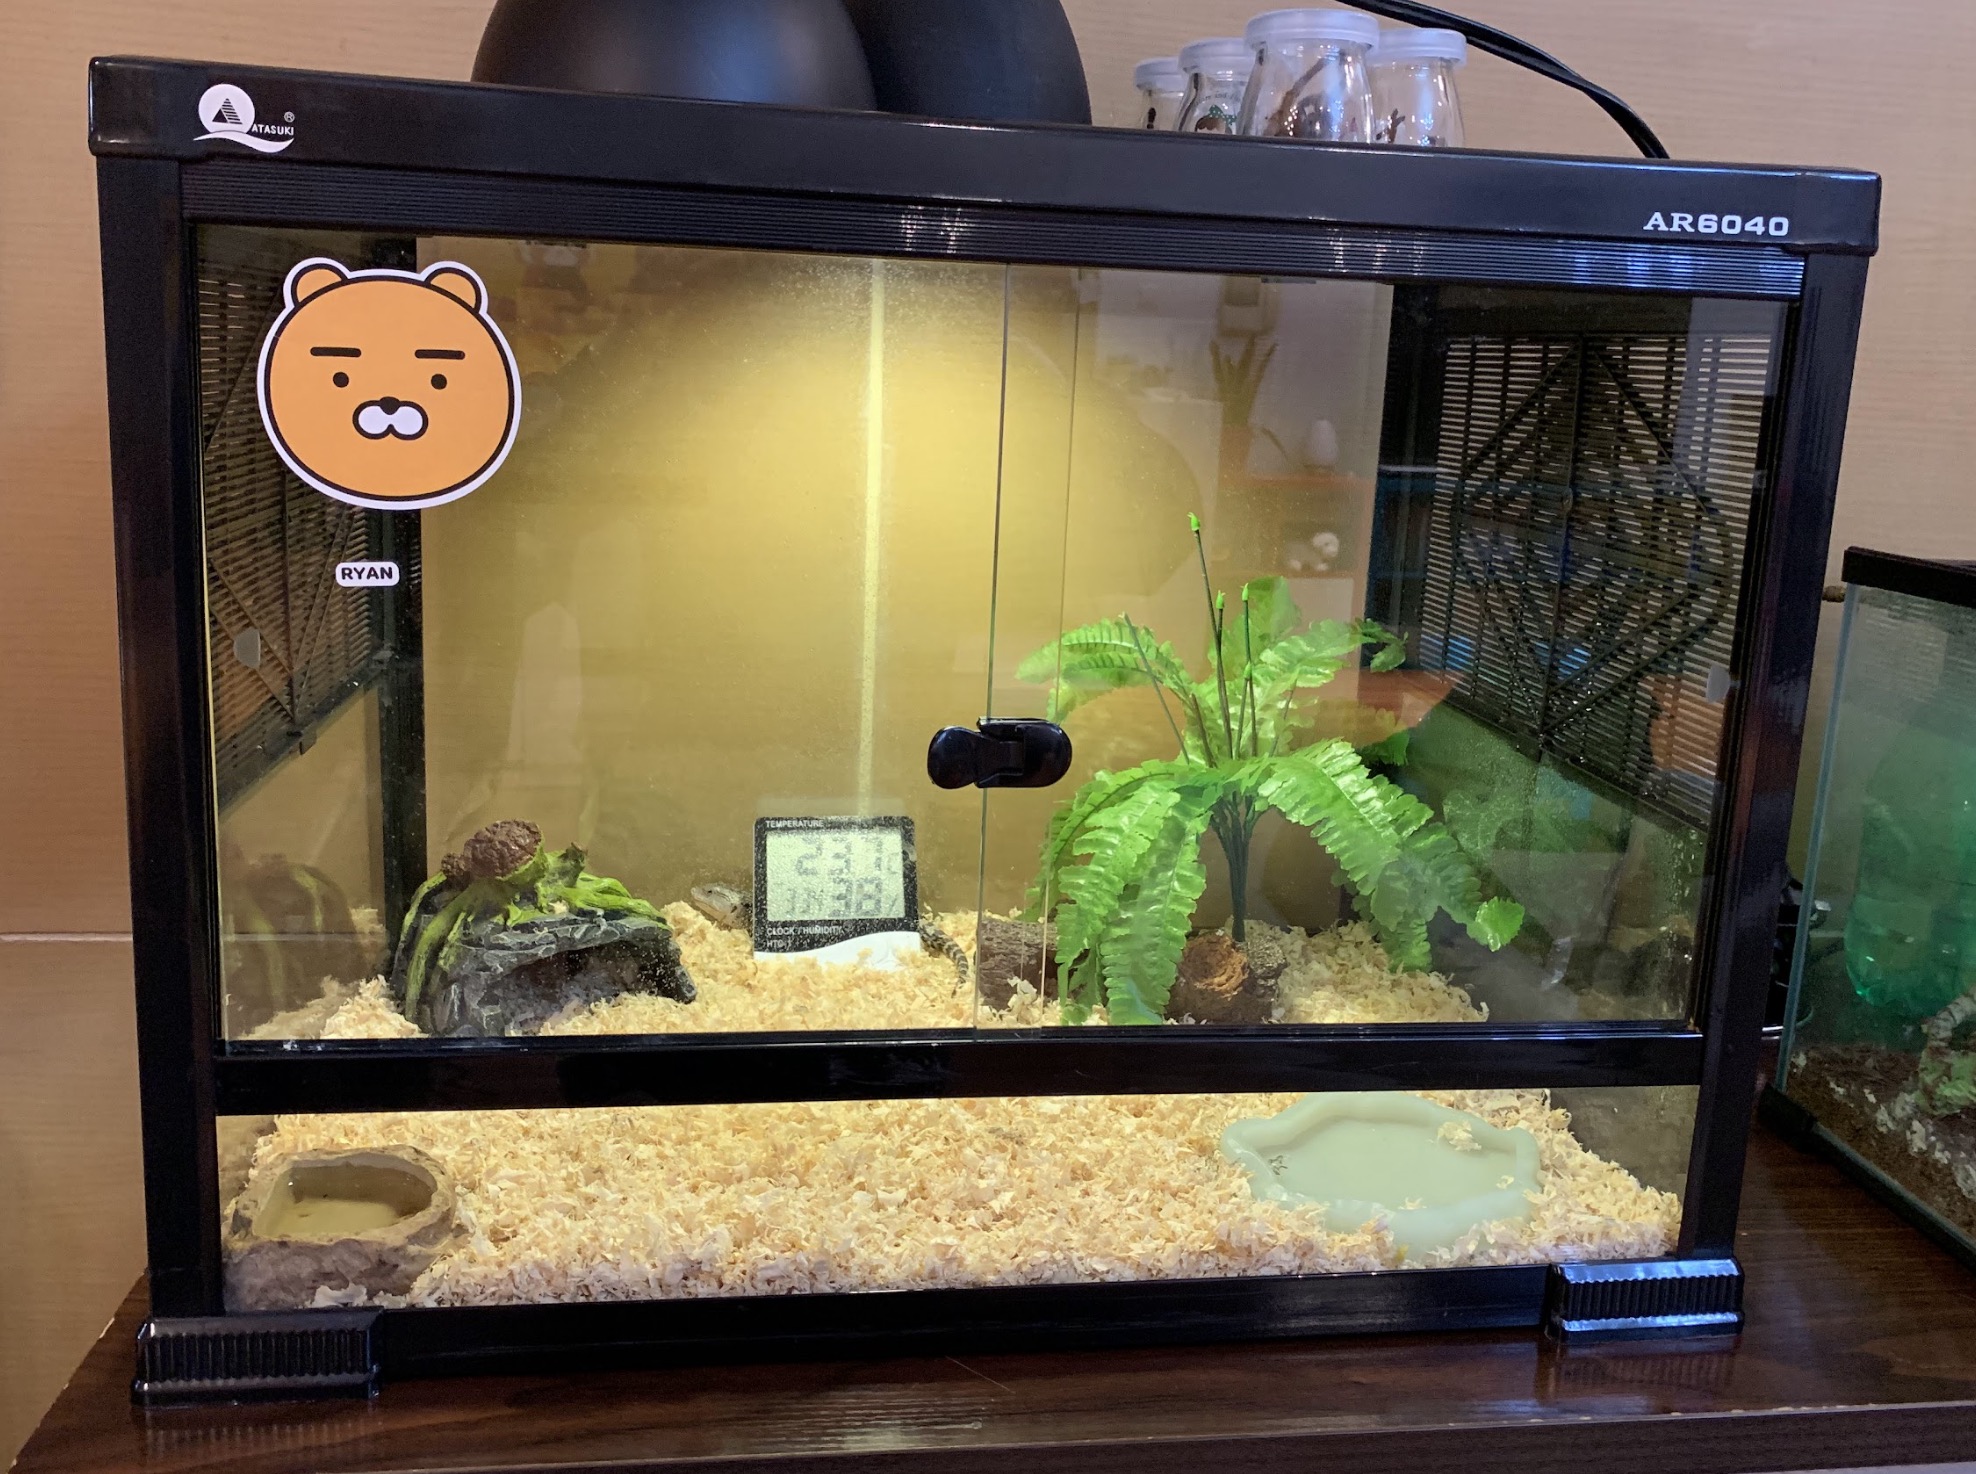
Climate Control Equipment
Maintaining proper temperature and humidity
- •Install thermometers at multiple heights (basking area and cool side)
- •Add hygrometer to monitor humidity levels
- •Use ceramic heat emitters or heat mats for nighttime heating if needed
- •For tropical setups: Install automatic misting system or hand-mist 1-2x daily
- •For desert setups: Provide water dish and occasional light misting
- •Create temperature gradient: warm basking area (90-95°F) to cooler side (75-80°F)
💡Pro Tip
Invest in quality digital thermometers and hygrometers. Cheap analog gauges are often inaccurate by 10-20 degrees or percentage points.
Cycling Period
Allowing the ecosystem to establish
- •Run the vivarium empty for 2-4 weeks before introducing animals
- •Monitor temperature and humidity daily, adjusting as needed
- •Water plants regularly and mist to maintain proper moisture levels
- •Watch for mold growth (normal initially, cleanup crew will handle it)
- •Observe plant health and replace any that don't survive
- •Allow cleanup crew populations to grow and spread throughout vivarium
💡Pro Tip
This patience period is crucial. It ensures plants root properly, cleanup crews establish, and environmental parameters stabilize before adding reptiles.
Essential Materials Checklist
Structural Materials
- • Glass or acrylic enclosure with screen top
- • LECA balls or egg crate (drainage layer)
- • Fine mesh or landscape fabric
- • ABG substrate mix or desert substrate
- • Cork bark, branches, driftwood
- • Rocks and ledges (reptile-safe)
Living Components
- • Live plants (species-appropriate)
- • Springtail culture
- • Isopod culture
- • Leaf litter (oak, magnolia)
- • Sphagnum moss
- • Beneficial bacteria supplement
Equipment
- • Full-spectrum LED or T5 lighting
- • UVB bulb (5.0 or 10.0 depending on species)
- • Basking bulb or ceramic heat emitter
- • Digital thermometer & hygrometer
- • Timer for lights (12-hour cycle)
- • Misting system or spray bottle
Tools & Accessories
- • Aquarium-safe silicone
- • Long tweezers or feeding tongs
- • Water conditioner (dechlorinator)
- • Small shovel or scoop
- • Spray bottle for misting
- • Maintenance tools (scissors, brush)
Ongoing Maintenance Guide
Check temperature and humidity levels. Mist enclosure if needed. Observe animals for health and behavior. Remove uneaten food.
Trim overgrown plants. Check water features for cleanliness. Inspect equipment for proper function. Spot-clean waste if needed.
Deep clean glass and decorations. Check cleanup crew populations. Prune plants significantly if needed. Replace substrate in problem areas. Test UVB bulb output (replace every 6-12 months).